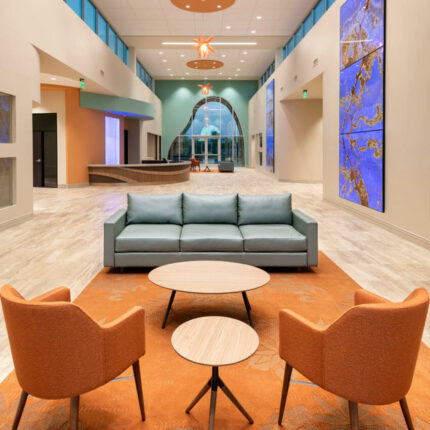
Where innovative design & technical expertise come together to create FUNCTIONAL BEAUTY.

REALIZING OUR CLIENTS' VISION THROUGH
architecture & design
triARC is a full-service architecture and design firm based in Phoenix, Arizona where innovative design is our passion and turning our clients' ideas into something extraordinary is what drives us forward.
By leveraging the power of our sector-based expertise & integrated team, we never lose sight of our ultimate goal: delivering results that exceed expectations and leave our clients saying “WOW.”
SPECIALIZED KNOWLEDGE & LEADERSHIP
The absence of traditional hierarchy along with our sector-based approach - led by our in-house experts - allows for fluid collaboration and creativity. Although our team specializes in the following primary sectors, we also execute projects within a diverse range of industries.

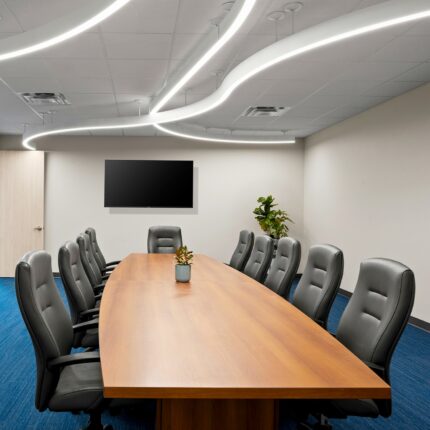
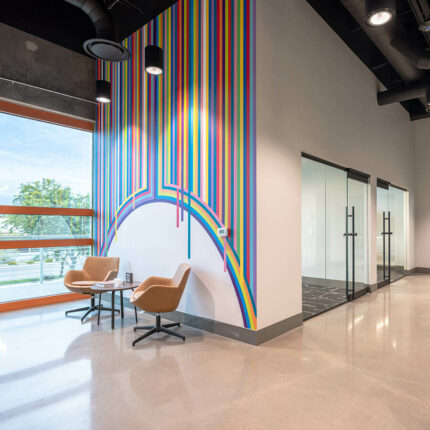
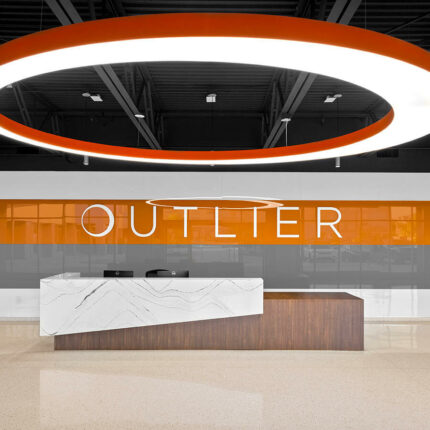
Corporate
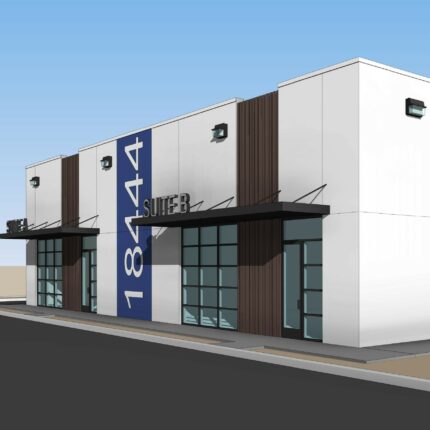
- Corporate Office
- Industrial Office
- Medical Office
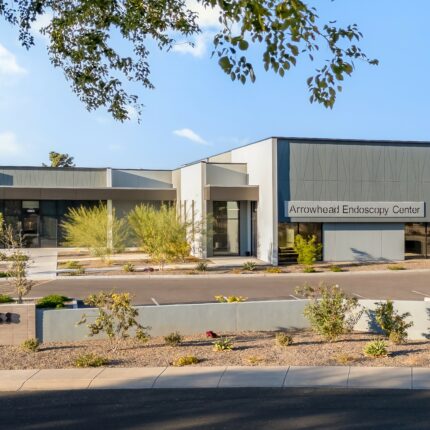
Healthcare
- Ambulatory Surgery Center
- Cancer Care, Imaging
- Primary Care / Clinic
- Specialty Healthcare

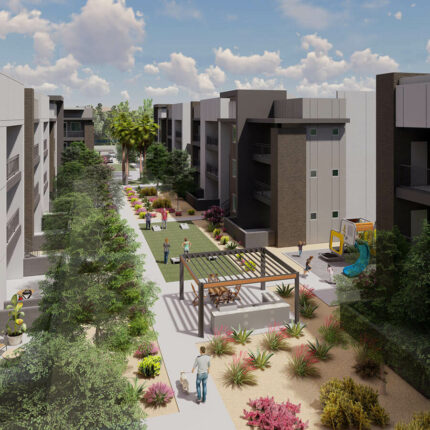
Multifamily
- Affordable Housing
- Build-to-Rent
- Senior Living

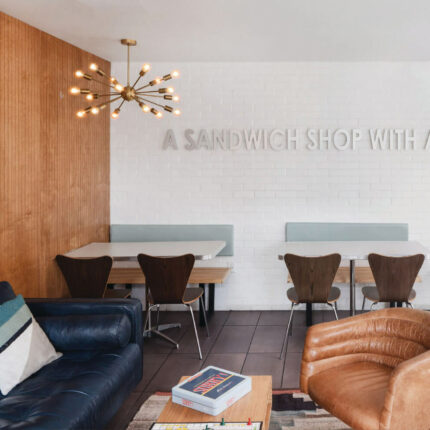
Retail
- Food and Beverage
- Mercantile
- Retail Services
OUR PEOPLE ARE OUR GREATEST ASSET
We’re a tight-knit team of individuals who bring unique ages, backgrounds, and perspectives to the table. Together, we transform ideas into reality, drawing strength from our distinctive experiences to achieve collaborative and exceptional outcomes for our clients. When you work with triARC, you become part of our family.


